Last updated: 09.26.2024
Building a Display Creative in The Trade Desk
Below are the step-by-step instructions on creating a display creative within The Trade Desk platform according to LiveIntent’s best practices.
Display Creative Specs
| Field | Description |
| Image |
Supported sizes: 970×550, 970×250, 300×250 Supported image file formats: jpg, png, gif File size 150 KB or smaller
|
Adding a Display Creative
1. Traffic display creatives & input assets
- Navigate to “Campaigns” and select “Upload Creative.”
- Select the “Hosted (Display, Video, Audio)” format.
- Upload assets in .jpg, .png, or .gif.
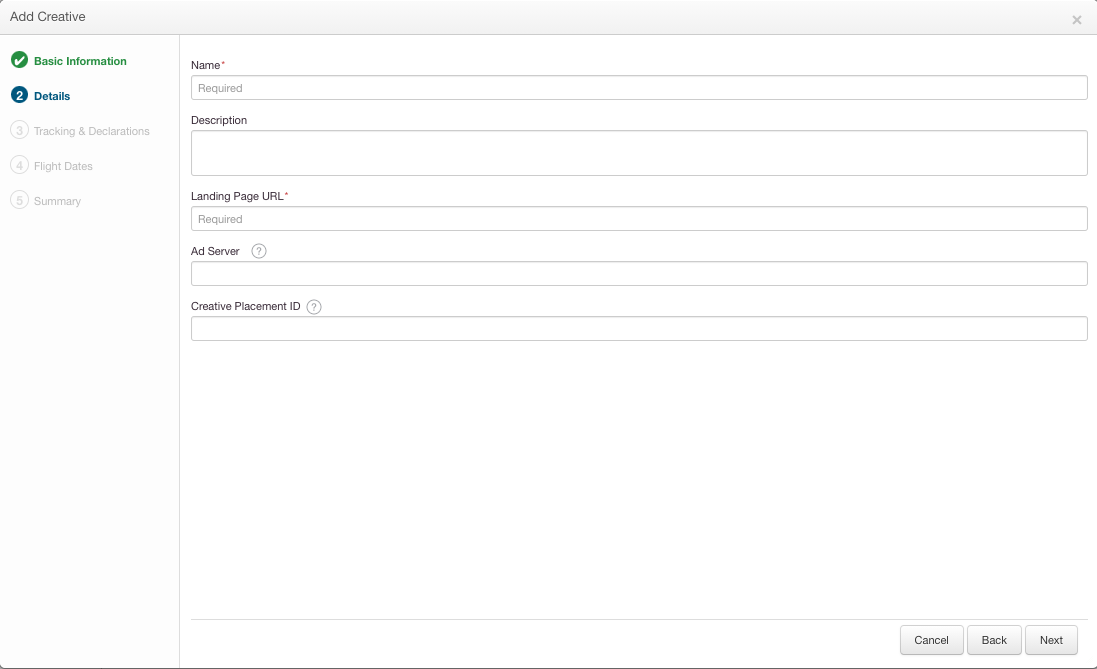
2a. Input copy
- Input the creative “Name” and “Landing Page URL.”
- If you would like to align Ad Server reporting with TTD reporting, you can add Ad Server and Creative Placement ID to tie both ids.
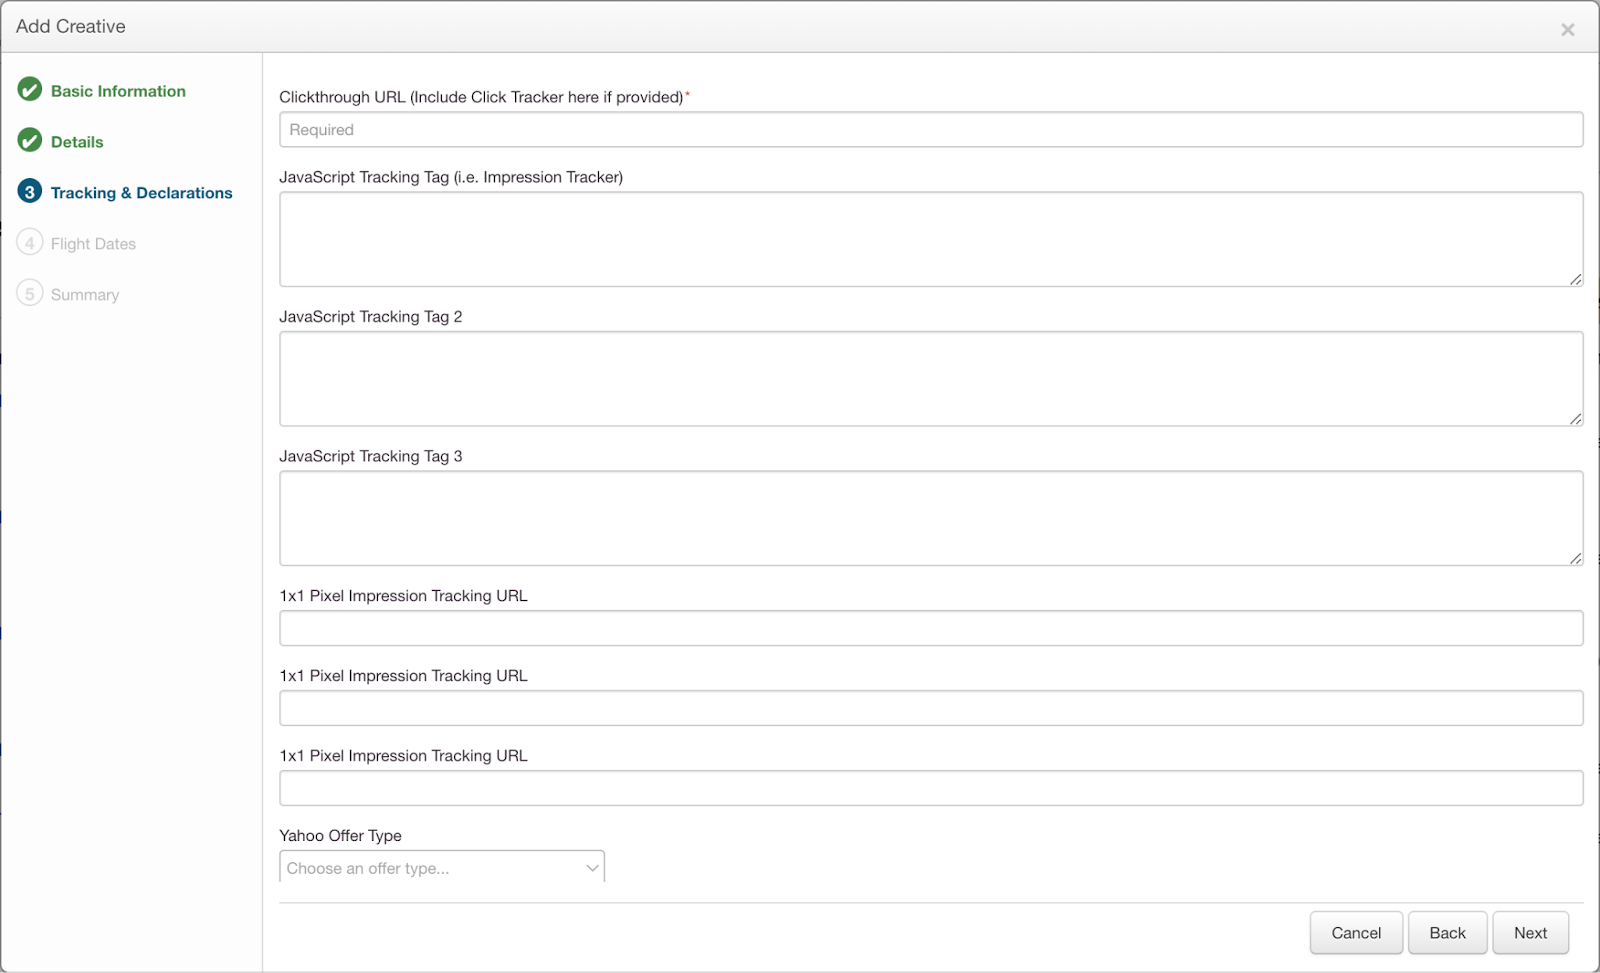
2b. Input trackers
- Input the click tracker under “Clickthrough URL.”
- DO NOT input any tags within Javascript Tracking Tags 1-3.
*Please note: Javascript tags are not supported within the email environment and will prevent spend entirely.
- Input your 1×1 impression (image) tag in ‘“1×1 Pixel Impression Tracking URL.”
- If you have additional non-javascript tags for measurement you can input them in the other “1×1 Pixel Impression Tracking URL” sections.
2c. Input flight
- Input the “Start Date”, “End Date,” and “Time Zone.”
- Once complete, select “Create” to finalize the creative.
Back to top